Start a ClojureScript App from Scratch
In this post we'll walk through my approach to setting up a Clojure(Script) app from scratch. My ultimate goal is to help alleviate the nagging perectionist feelings we get when starting new projects.
If you plan on following along with this post, please be sure to have Clojure installed and working. Not sure? Want to know how? I recommend taking a look at my free Getting Started with Clojure(Script) Youtube series which will take you through the whole process or checkout the official written ClojureScript Quickstart Guide.
Setup Project Structure
This section covers the file & folder structure of our application: What goes where and why.
To start a new project we need a name. In Clojure/Script the
convention is to combine your "company" and "project" name. For example, if we
worked for Nike and we're building an app called Fit Queens then our app
structure would look like src/nike/fit_queens.cljs.
For the demo code in this post, we'll pretend our company name is tallex and
the app is called time dive.
With this in mind, let's get to step 1: create your projects files and folders!
Step 1 - Add the Files and Folders
Start by creating each file and folder exactly as seen below:
.
├── README.md
├── resources
│   ├── index.html
│   └── style.css
├── src
│   └── tallex
│       └── time_dive.cljs
└── tests
    └── tallex
        └── time_dive_tests.cljs
Step 2 - Add HTML
Add some HTML so when the page renders we see something. All web apps start
with an HTML file. Think of HTML as the "bones" of your web app.
Open your index.html file and add the following:
<!DOCTYPE html>
<html>
  <head>
    <title>Time Dive</title>
    <link rel="stylesheet" type="text/css" href="style.css" />
  </head>
  <body>
    <h1 class="site__title">
      <span class="site__title-text">Time Dive</span>
    </h1>
    <script src="/out/main.js"></script>
  </body>
</html>
Step 3 - Add CSS
Now we can write some CSS. Open the style.css file and add these
styles:
:root {
  --color-purple: rgba(197, 18, 193, 1);
  --color-pink: rgba(241, 50, 50, 1);
}

body {
  margin: 0;
  height: 100vh;
  display: flex;
  font-family: Arial;
  align-items: center;
  justify-content: center;
}

.site__title {
  font-size: 100px;
  width: 50%;
  text-align: center;
}

.site__title-text {
  background: -webkit-linear-gradient(
    34deg,
    var(--color-purple),
    var(--color-pink)
  );
  -webkit-background-clip: text;
  -webkit-text-fill-color: transparent;
}
Step 4 - Add ClojureScript
Now let's write some ClojureScript. Open time_dive.cljs and type the following
code:
(ns tallex.time-dive)

(js/console.log "Hello, Time Dive!")
The above tells Clojure/Script you're creating a namespace called
tallex.time-dive. This namespace is going to be the entry point of our app.
Step 5 - Add ClojureScript Tests
Good tests are the Alfred to a software engineers Batman. Open up that
time_dive_tests.cljs file and add the following:
(ns tallex.time-dive-tests)

(js/console.log "Hello, Time Dive Tests!")
This concludes setting up the project structure and boilerplate code. The next thing to do is setup some tooling to run our Clojure(Script) app.
Running and Developing ClojureScript
To run our Clojure/Script project we'll use clj tool: which will allow us to:
- run clojure programs
- resolve transitive dependencies
- build classpaths
Why do we need this? Because while we're developing our app we want to be able to use tools like ClojureScript, Figwheel etc to make our development experience pleasant. To do this, we start by adding these tools (deps) to our project.
Step 6 - Add deps file
Start by creating a deps.edn file in the root of our project and then make
it look like this:
{:paths
 ["src" "tests" "resources"]

 :deps
 {org.clojure/clojurescript {:mvn/version "1.11.60" }}

 :aliases
 {:dev {:main-opts ["-m"  "cljs.main"
                    "-ro" "{:static-dir,[\".\",\"out\",\"resources\"]}"
                    "-w"  "src"
                    "-c"  "tallex.time-dive"
                    "-r"]}}}
Before we continue, let's review what our deps.edn file is doing:
- :paths tells
cljwhere to look for clojure code. Also known as aclasspath - :deps tells
cljwhich dependencies our app needs. Right now our only dependency is ClojureScript. - :aliases are like shortcuts. We can store long commands, or alternate dependencies in these.
Right now, we only have one alias called dev, but we will eventually have
others like prod and test. The aliases allow us to run our app in different
ways. Right now, our dev alias says: run ClojureScript. Specifically:
- "-m" run
cljs.main(run clojurescript). - "-ro" teach the CLJS repl where to find
static filese.g. html, css etc. - "-w" watch all files in
srcdir and recompile when they are changed. - "-c" compile our app entry point:
tallex.time-dive. - "-r" run a REPL and connect it to the browser.
Now that we have a rough idea of what is going on we're ready to take our app for a test drive.
Open a terminal, move into the root of the app and run the following command:
clj -M:dev
wait a bit for the above to run. If it worked, you should see that a browser tab/window automatically opens and you'll see the HTML and CSS we coded above:
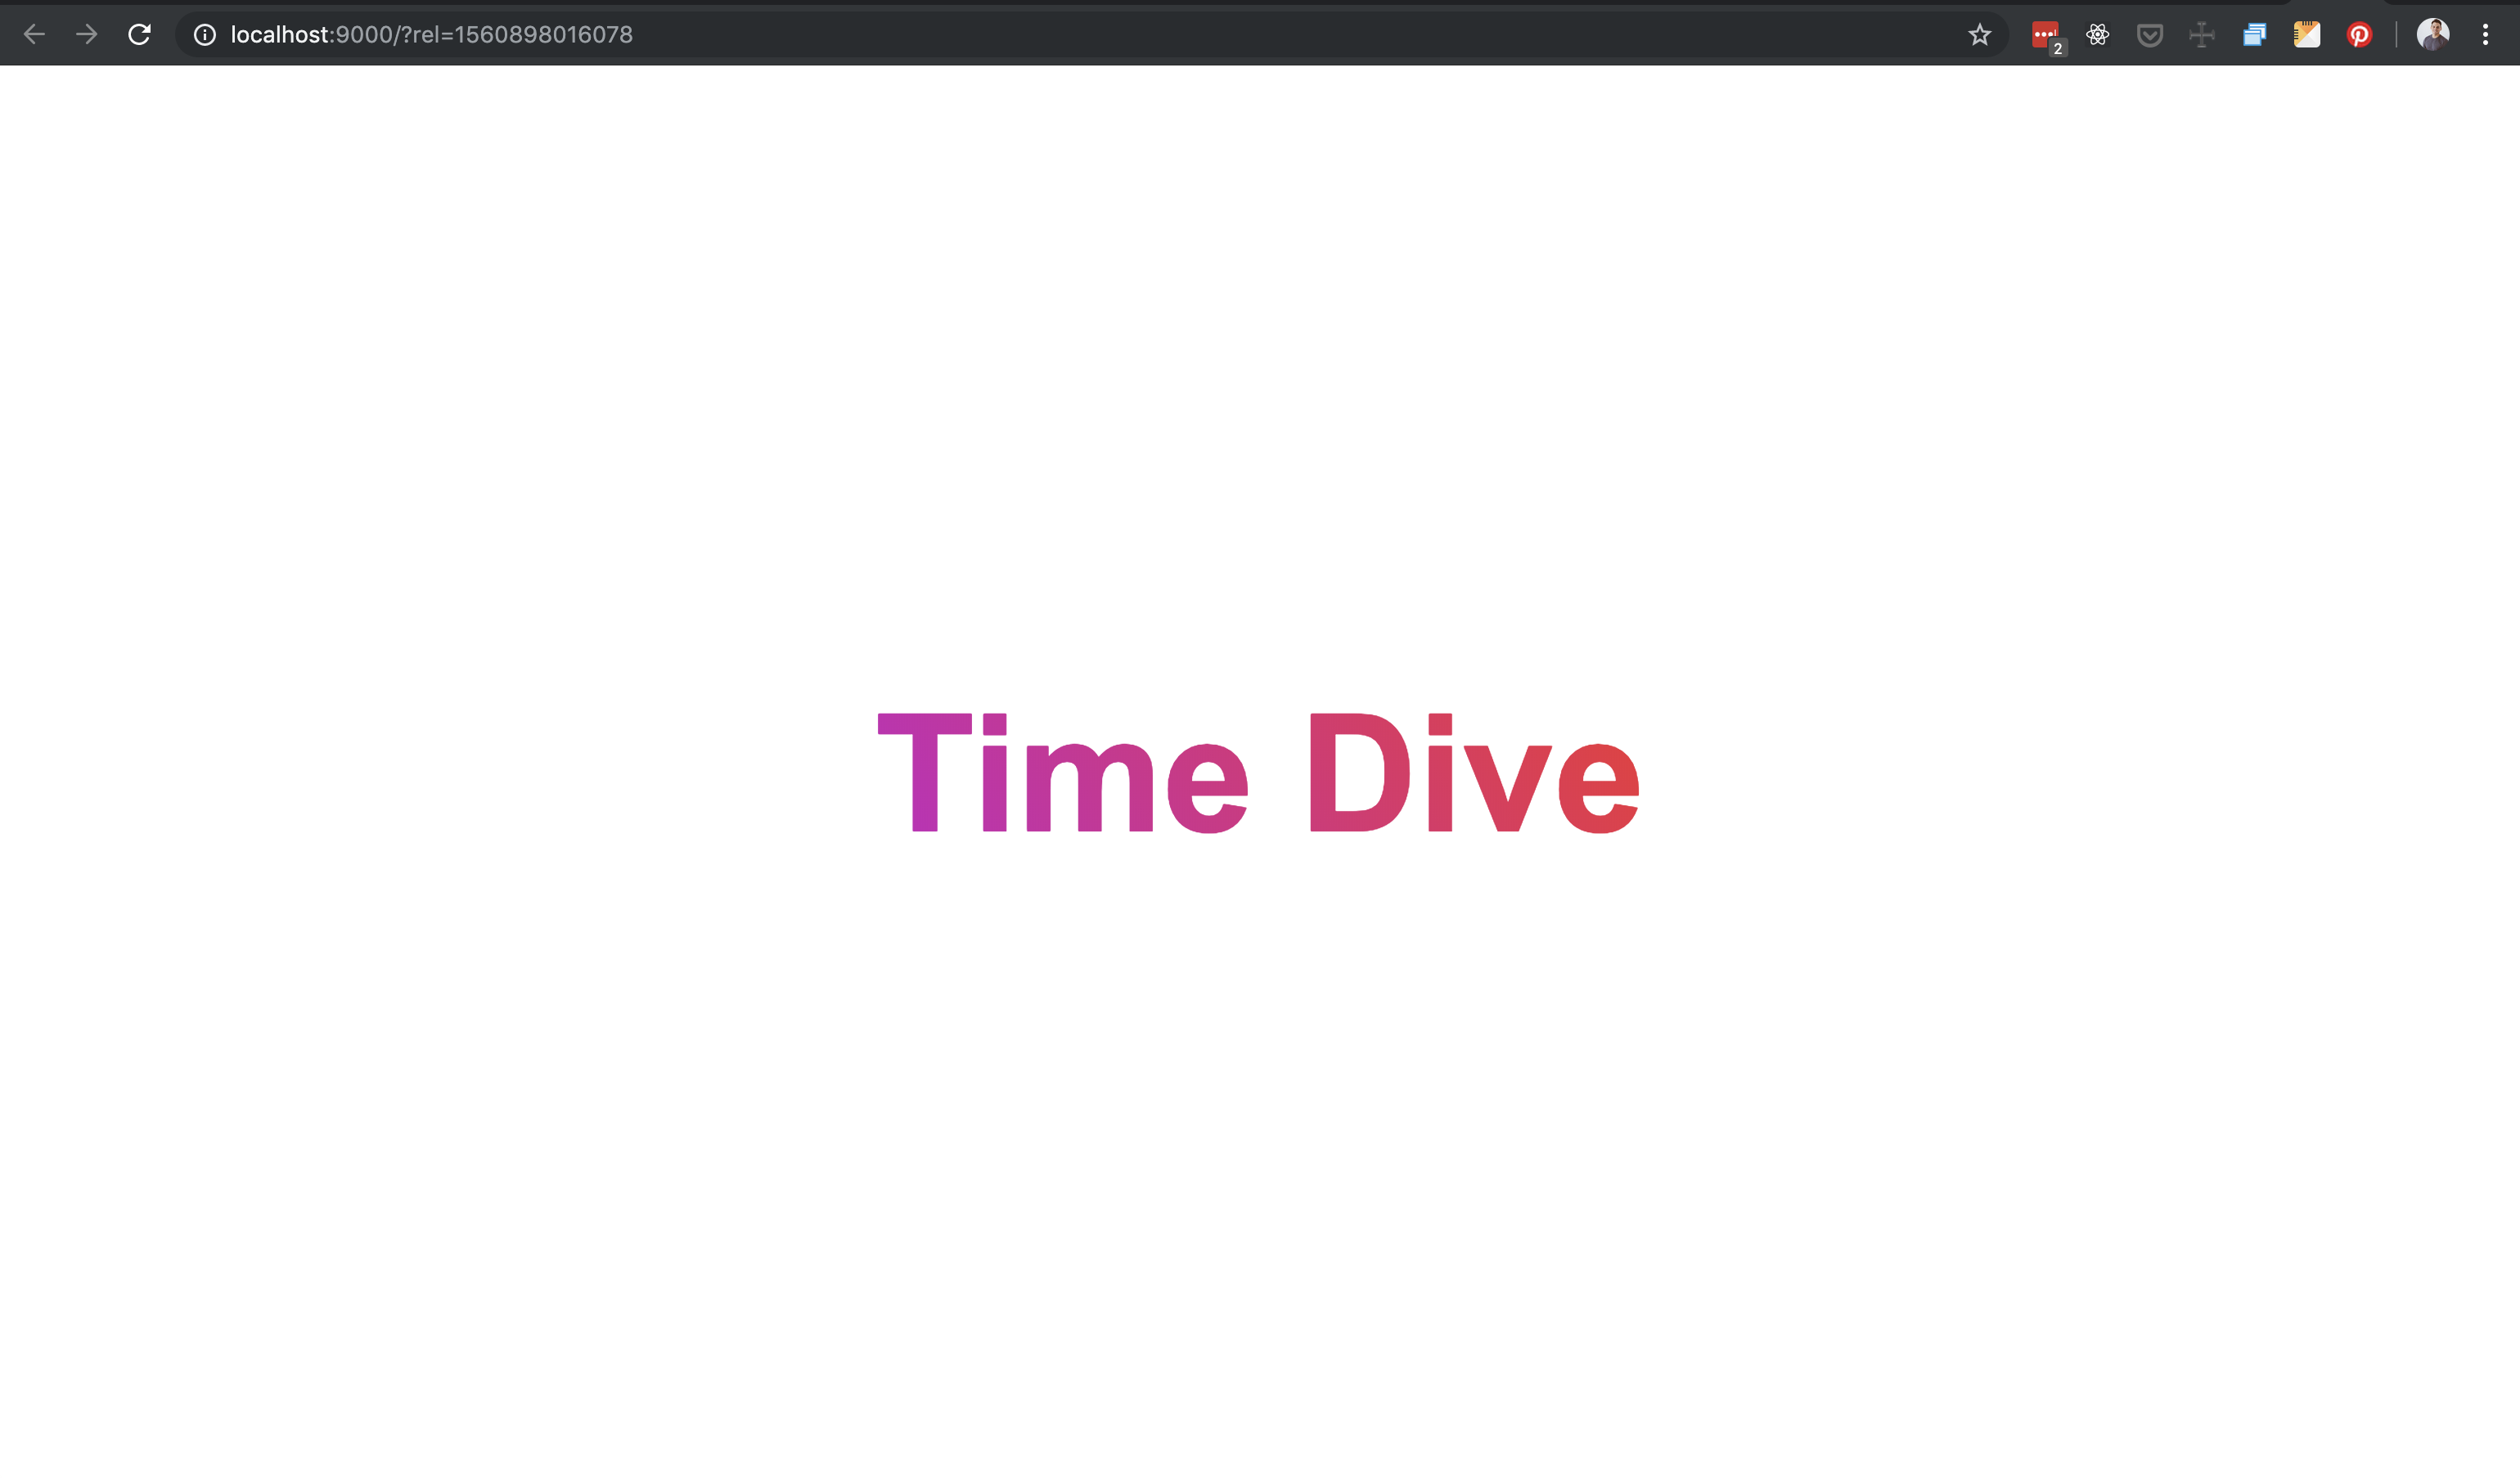
Before we jump over to the next section I want to draw your attention to the fact that we have zero dependencies. Think about this: our files are being watched, code is recompiled on save, we are greeted with a browser repl and all of this with zero dependencies. Yes, we are still missing a few niceties, but we are not done yet.
Setup a ClojureScript Toolchain
As I noted, we have zero dependencies and already have a powerful toolchain. However, the developer experience can be better. This section will take our toolchain to the next level by introducing figwheel.
figwheel is a popular ClojureScript tool and a must have for my workflow.
Figwheel has many features, but we are only going to focus on the main ones.
These include:
- live ClojureScript and CSS Reloading
- Informative error messages
- Build configurations for prod, dev, test et al.
Now that we know what figwheel does, let's see how to make it do the things.
Step 7 - Add Figwheel
It starts by adding figwheel as a dependency. We do this by opening the
deps.edn file and add the line you see highlighted below:
; highlight-range{7}
{:paths
 ["src" "tests" "resources"]

 :deps
 {org.clojure/clojurescript {:mvn/version "1.11.60"}

  com.bhauman/figwheel-main {:mvn/version "0.2.18"}}

 ; ...
 }
Step 8 - Add build configuration
A build configuration is we configure both figwheel and the ClojureScript compiler .
In this section, we'll show you what a development build configuration looks like.
Create a new file in the root of our ClojureScript app called dev.cljs.edn
and add the following code to it:
^{:watch-dirs ["src"]
  :css-dirs   ["resources"]}
{:main tallex.time-dive}
What does all of the above mean?
- :watch-dirs - when any
cljsfiles change insrcdirectory figwheel recompiles and re-loads the browser. - :css-dirs - when
cssfiles change in theresourcesdirectory figwheel recompiles and re-loads them in the browser - :main - This is an option that figwheel passes to the
ClojureScript compilerwhich tells the compiler which file is our appsentry point.
If the above sounds like it overlaps with how we configured our project in
Step 6, you're right. Now that we're using Fighwheel we don't need the
-w, -r and -c flags we originally added to our dev alias. We'll update
this in the next step.
Step 9 - Update :dev Alias
We need to update our dev alias to call figwheel instead of calling
ClojureScript.
Open deps.edn and make it look like this:
{:paths
 ["src" "tests" "resources"]

 :deps
 {org.clojure/clojurescript {:mvn/version "1.11.60"}

  com.bhauman/figwheel-main {:mvn/version "0.2.18"}}

 :aliases
 {:dev {:main-opts ["-m"  "figwheel.main" "--build" "dev" "--repl"]}}}
Time for sanity check to make sure everything is still working. Run the following command:
clj -M:dev
Your app should run, but you will notice that you get the following screen:
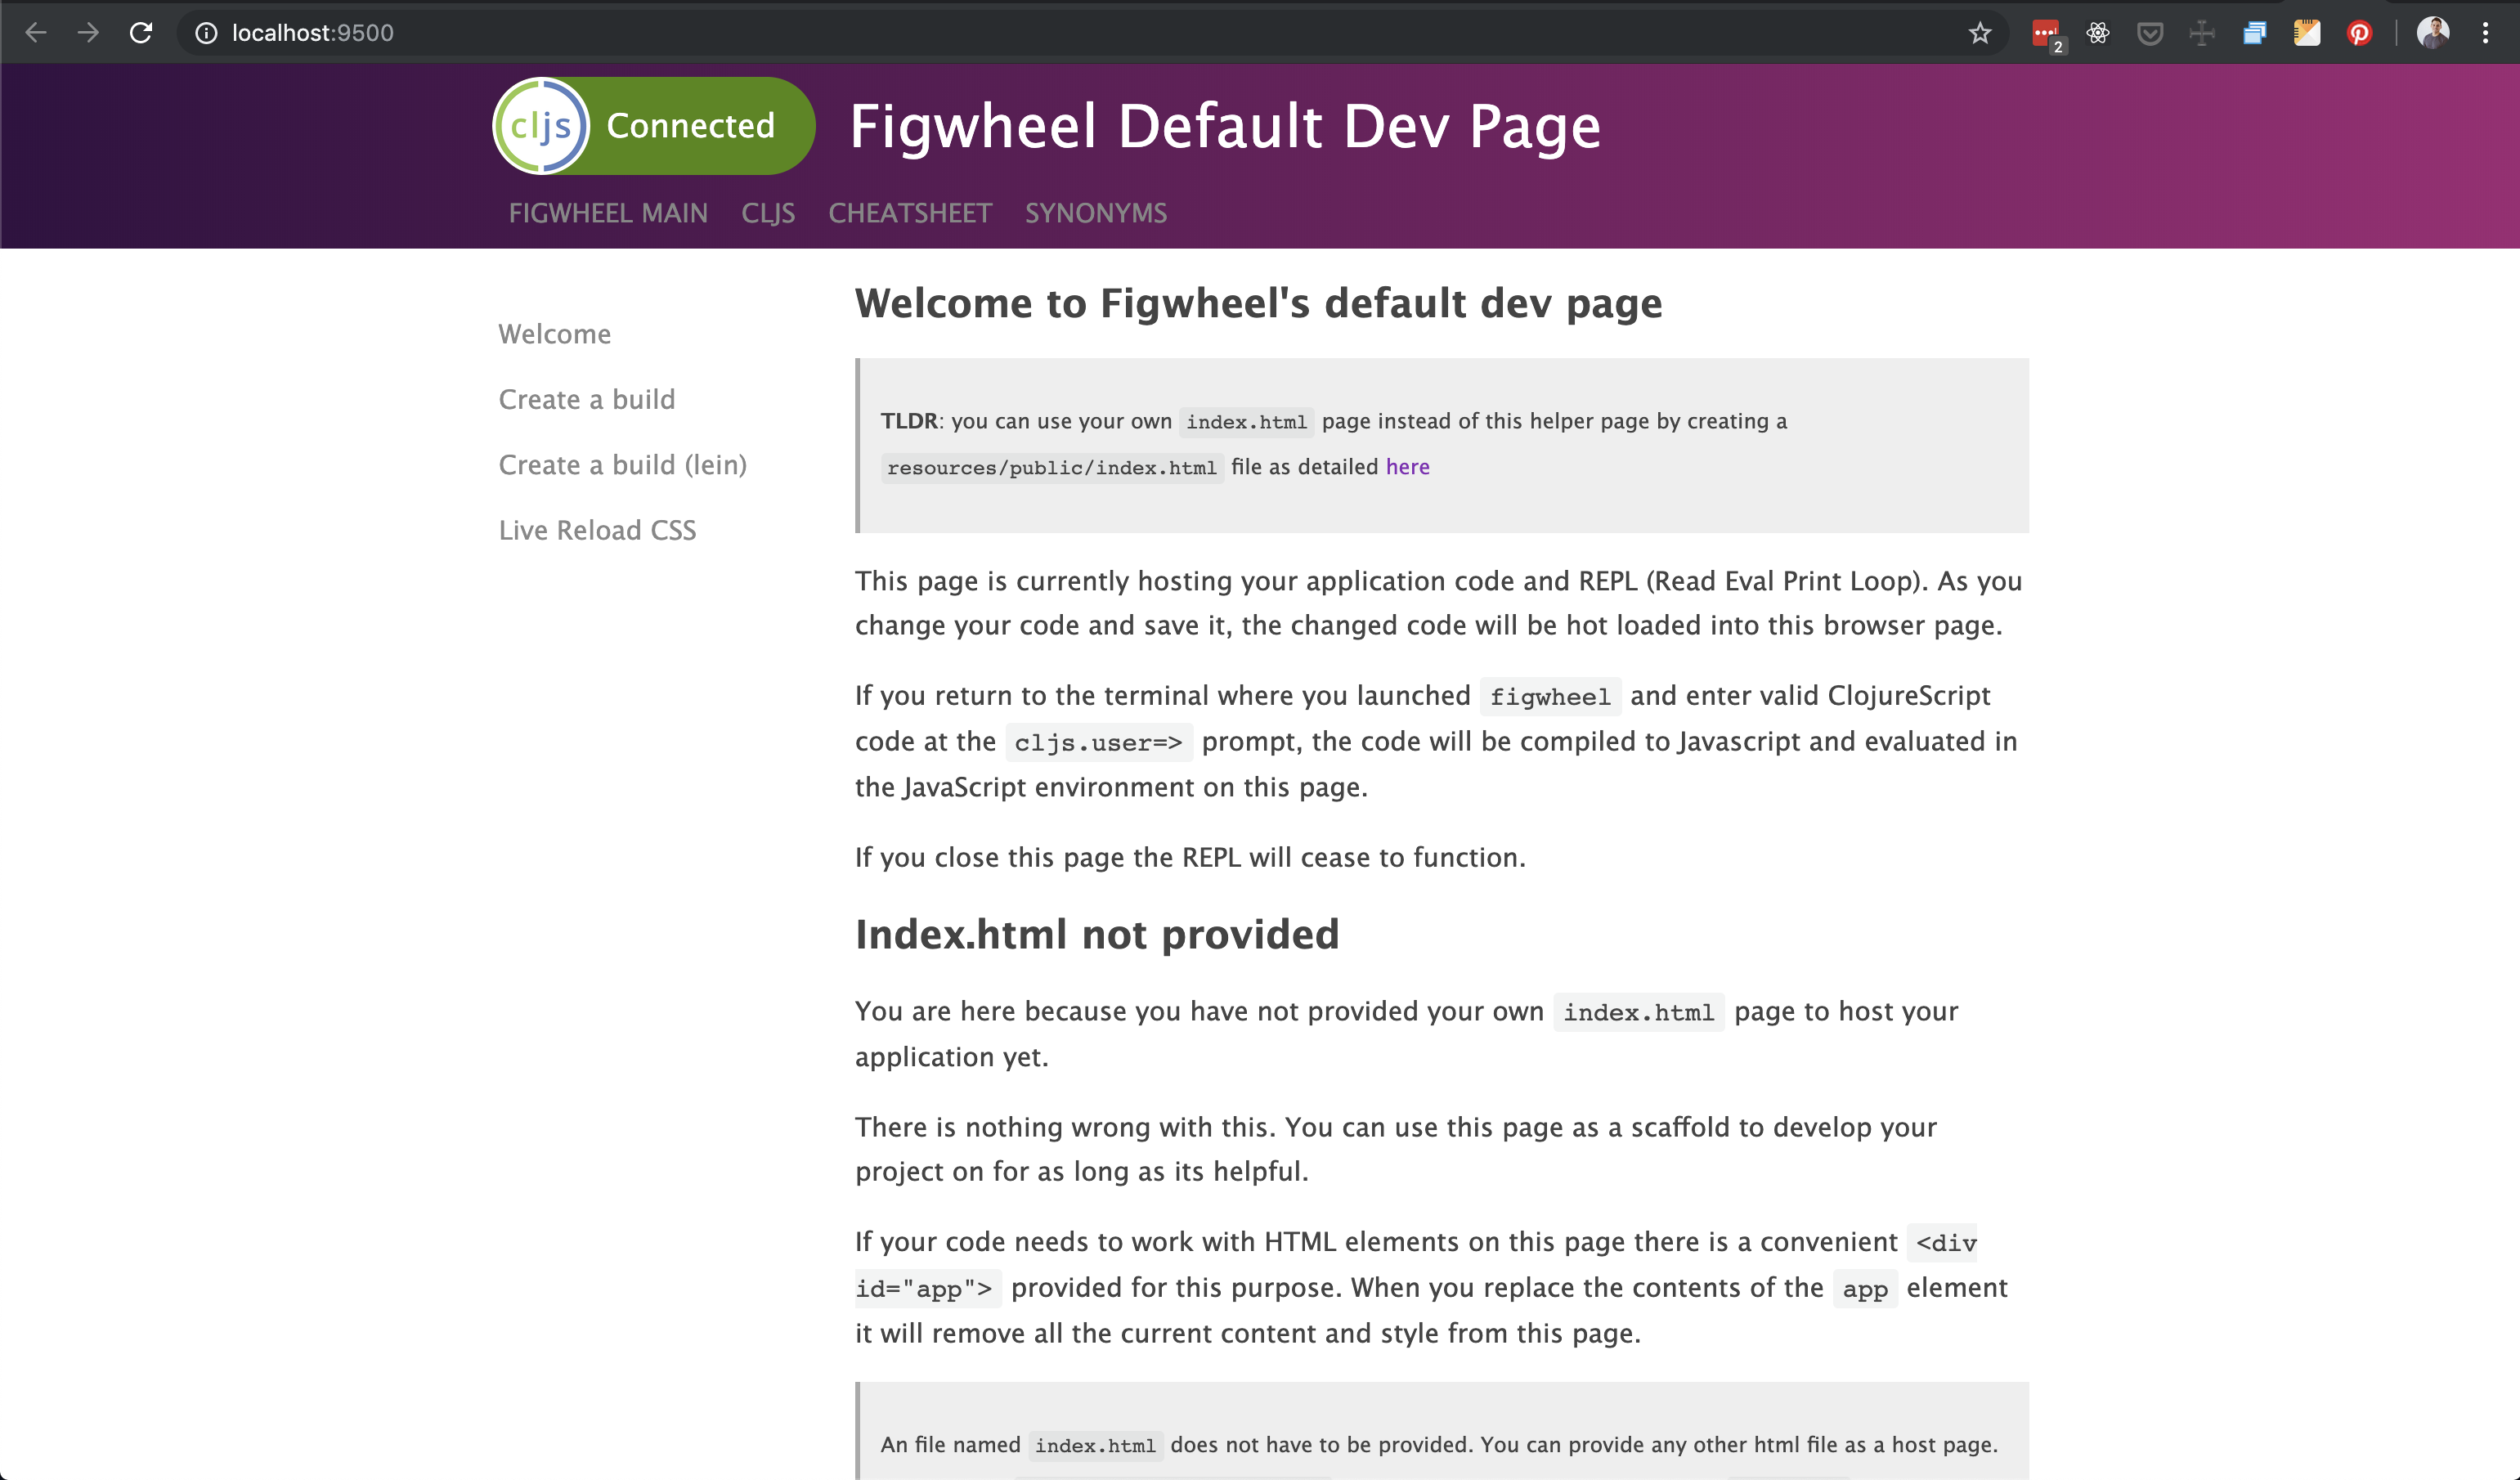
This appears because figwheel is looking for our index.html in
resources/public. Up until now we put our index.html file directly under
the resources dir. So, our next step is to move our index.html file.
Step 10 - Restructure resources dir
Go ahead and add a public directory to the resources dir and move your
index.html and style.css into it.
Your folder structure should look like this:
.
├── README.md
├── deps.edn
├── dev.cljs.edn
├── resources
│   └── public
│       ├── index.html
│       └── style.css
├── src
│   └── tallex
│       └── time_dive.cljs
└── tests
    └── tallex
        └── time_dive_tests.cljs
We also need to update the script tag in our index.html file.
<script src="/cljs-out/dev-main.js"></script>
The reason we update the script tag because figwheel is going to build your
ClojureScript in a different folder than clj did.
time to run the app again:
clj -M:dev
The toolchain is now in place, but we are still missing the great and powerful Hot Module Reloading.
Hot Module Reloading
Hot Module Reloading (HMR) is the "killer feature" of React development. So much so that HMR and React are often spoken in the same breath as if the two are linked in some way. The two are separate things entirely though. Truth is, as long as you write reloadable code, you can achieve HMR.
This is the catch though: writing reloadable code can be tricky and time consuming. Writing reloadable code is made much easier when you write your code using React. This is likely part of the reason the two are seen as linked.
figwheel offers a framework / library agnostic mechanism to support your
ability to write HMR. Specifically, figwheel gives us hooks which we specify
in the namespace where we want to take advantage of HMR.
The way it works is when we write HMR we have to tell our app how to tear
itself down and setup again when files are re-compiled. We have to write these
functions ourselves. What figwheel helps with is providing hooks like
:after-load and :before-load which will call our setup and teardown
functions.
Step 11 - Refactor for Figwheel
This section will illustrate how to use figwheel hooks.
Open time_dive.cljs. Currently, our time-dive namespace is logging
"Hello, Time Dive" on each reload. We could however only have it log on
re-compile by adding a hook like this:
(ns ^:figwheel-hooks tallex.time-dive)

(defn ^:after-load re-render []
  (js/console.log "Hello, Time Dive!"))
Now when you try to run the app you will notice that the console.log will only
log when there has been a reload.
not log the first time but only after each save. Things to take note of:
- ^:figwheel-hooks -
meta datatelling figwheel we want to use hooks in our namespace - ^:after-load -
meta datatelling figwheel that we want it to run the function,re-render, after each compile
reloadable code is a rich topic and my hope is to show you how it works
with CLJS and figwheel and that it's a way you write your code just as much
as a helper tool.
Add Reagent
You could use a bunch of JS frameworks in ClojureScript, but the ClojureScript community loves React and the community has made wrappers to make React easier to use in ClojureScript.
While there are many wrappers the most popular React wrapper is currently Reagent so we will show you how to use that.
Step 12 - Refactor for Reagent
In addition to adding Reagent we are going to update our deps.edn, html,
css and cljs.
Open the deps.edn file and making it look like this:
; highlight-range{9}
{:paths
 ["src" "tests" "resources"]

 :deps
 {org.clojure/clojurescript {:mvn/version "1.11.60"}

  com.bhauman/figwheel-main  {:mvn/version "0.2.18"}

  reagent                   {:mvn/version "1.2.0"}}


 :aliases
 {:dev {:main-opts ["-m"  "figwheel.main" "--build" "dev" "--repl"]}}}
Next we can open our index.html file and modify as follows:
<!-- highlight-range{8,10} -->
<!DOCTYPE html>
<html>
  <head>
    <title>Time Dive</title>
    <link rel="stylesheet" type="text/css" href="style.css" />
  </head>
  <body>
    <div id="root"></div>

    <script src="/cljs-out/dev-main.js"></script>
  </body>
</html>
Finally open our time-dive namespace and add a few things:
(ns ^:figwheel-hooks tallex.time-dive
  (:require
    [reagent.dom :as r.dom]))


(defn app []
  [:h1.site__title
    [:span.site__title-text "Time Dive"]]])


(defn mount []
  (r.dom/render [app] (js/document.getElementById "root")))


(defn ^:after-load re-render []
  (mount))


(defonce start-up (do (mount) true))
A little about the above:
appis our first example of a Reagent componentmounta function. When called, it will display ourtime-diveappre-rendera function with a hook. When called, it reloads our app. It supports the HMR partdefonceis used to control side effects.
Last step: open up style.css and change the body tag to #root
/* replace ... */
body {
  /* ... */
}

/* with ... */
#root {
  /* ... */
}
Ready to see if it all worked? Run clj -M:dev and marvel at your ClojureScript SPA.
Conclusion
At this point we have created a ClojureScript app from scratch and provided a solid foundation which should allow you to take this app in any direction you like. Of course, I did not go into details beyond the initial phase, but if you are interested in possible next steps or sources for inspiration, here are a few that I often recommend.
- Example Reagent App
- Example Full Featured Clojure(Script) App
- ClojureScript 30
- Lambda Island - ClojureScript Tutorials
- Purely Functional TV - Clojure(Script) Tutorials
- Getting Clojure
- Elements of Clojure
These resources are great next steps for learning to work with Clojure(Script).